The ugly side of vintage computing is that they are problem-prone. When you figure PCs are designed to be replaced every two to ten years, it’s no surprise that these 25-40 year old machines start developing issues. Nobody would have imagined that these machines would still be in use all these years later.
The problems range from leaky capacitors that can be replaced for a few yen to burned-out custom chips that range from “too much money” to “you may never find a replacement for it.” The Commodore 64 user base is so big that modern replacements for many custom chips have been produced. Other platforms may or may not be so lucky.
This happened to my Sharp x1 Turbo Z, which is so far my favorite Japanese vintage computer and the one I use most. The fault is mine alone, I should have opened it up to check on the battery and capacitors as soon as I got it. Instead, I plugged it in and it worked, and I just blindly plodded forward. Lesson learned.
One night, I noticed the machine stopped loading high density disks. Well… okay. I rarely use them. I will get around to repairing or replacing the part later and just use the double density disks, where most of my games reside. But it escalated quickly, about one hour later it stopped reading all disks.
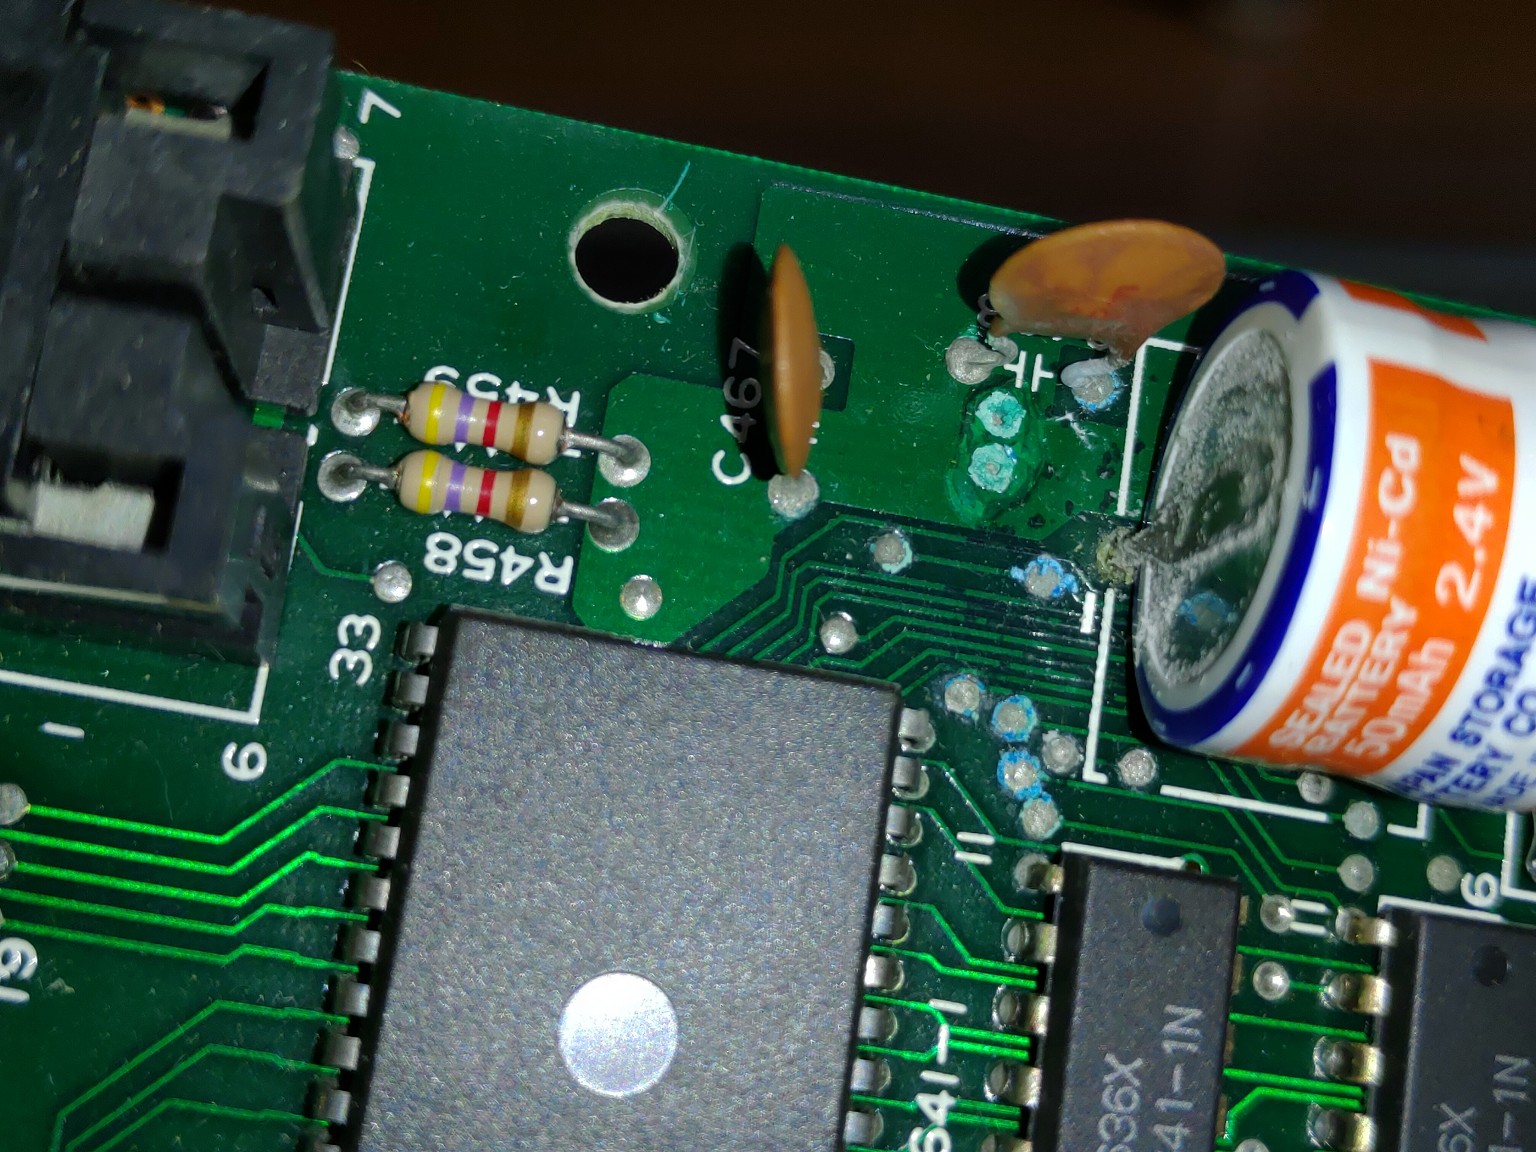
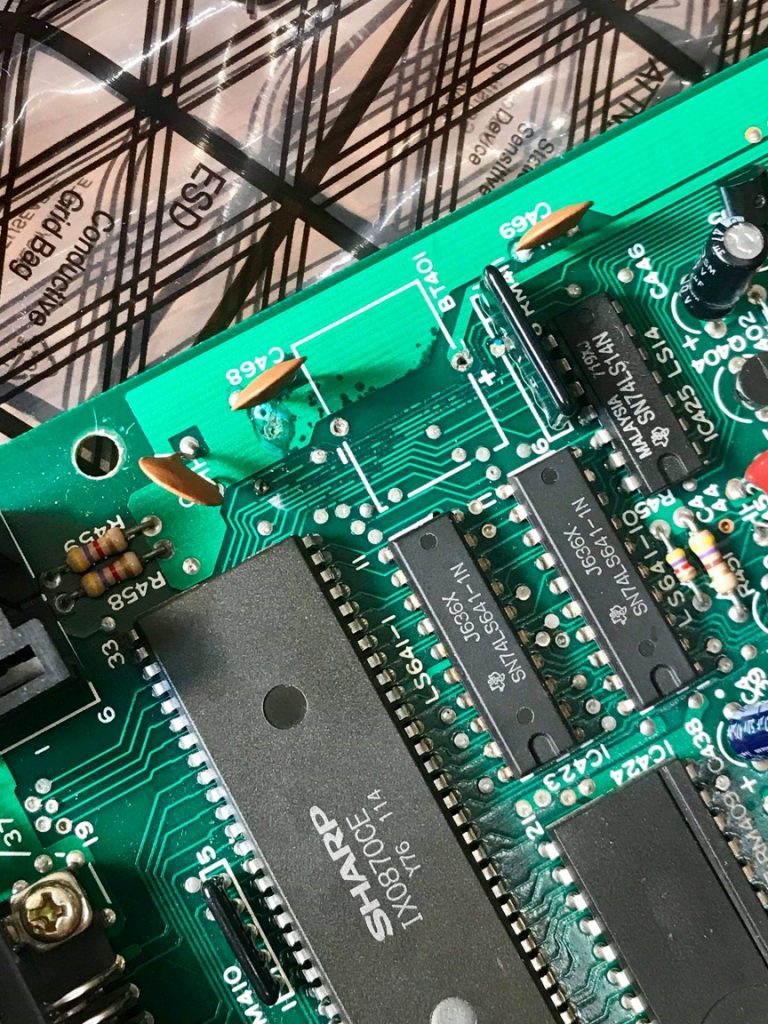
So now I have to open it, and when I do, I see there is a small amount of leakage from the battery. The battery resides on the same board as the floppy drive controller, so it makes sense quickly enough. I used my very modest soldering skills to remove the battery. There are some areas that might indicate light damage to the traces near the – symbol in the box where the battery used to be.

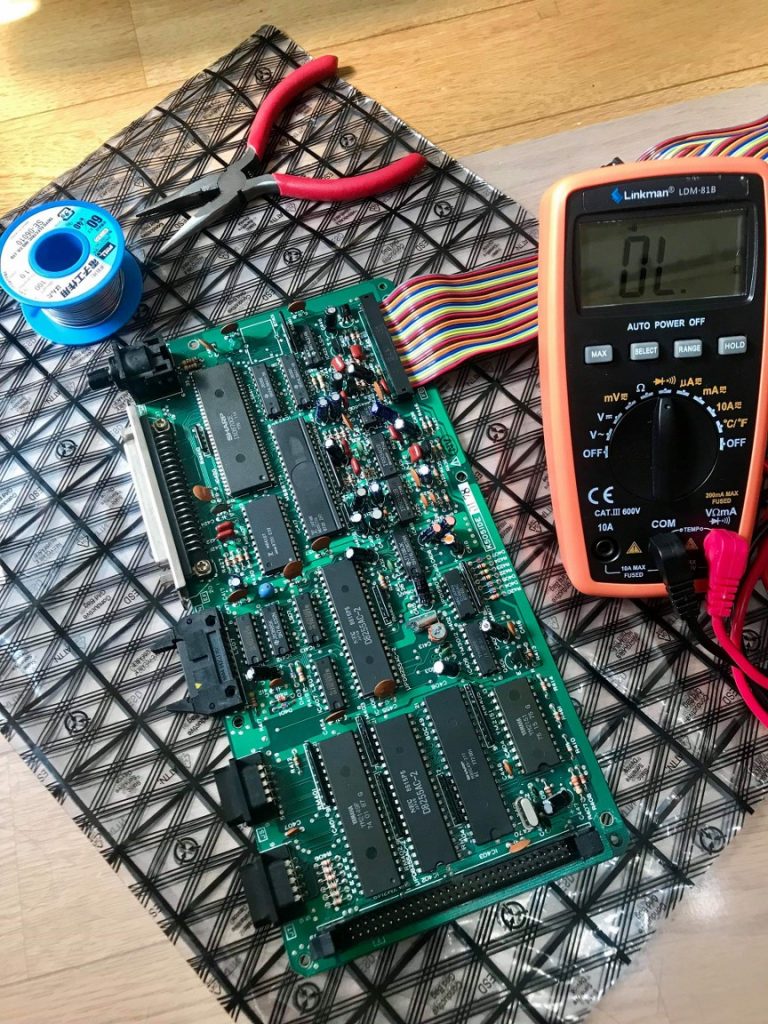
First step was getting a spare parts machine. These machines are expensive but fortunately there was one available on Yahoo Auctions in terrible condition. Huge areas full of noticeable scratches on the front and top, and rust on the ports on the back. It was a bit of a gamble, though, because there was no way of knowing if that machine’s floppy drive controller worked or not.
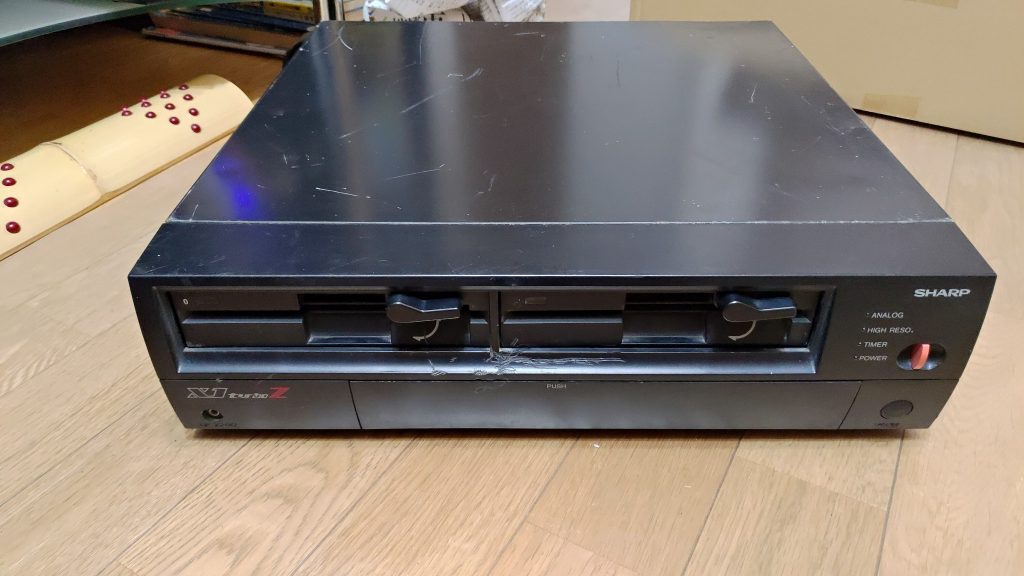
You ugly. But thank you.
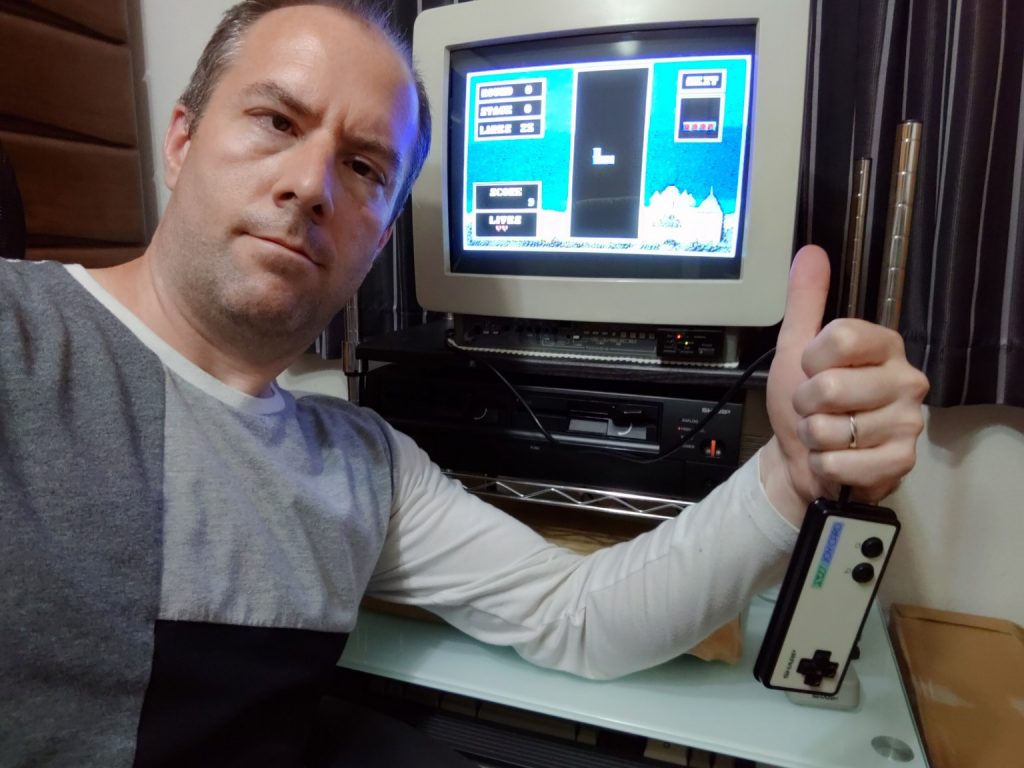
I got it for about 20% of the price of my own Sharp X1 Turbo Z. When it arrived, I checked it out and fortunately all that rust was confined to the outside; the inside was very clean. There was no battery leakage on the controller, either. I just put the board from the spare parts machine into my main one, and it all started working again. Temporary relief! I played a victory game of Tetris before going to bed for the night.


Step two was a bit more challenging. I understand some of the principles of basic computer repair, and I had some idea of what needed to be done, but my hands don’t hold steady enough to perform delicate soldering operations.
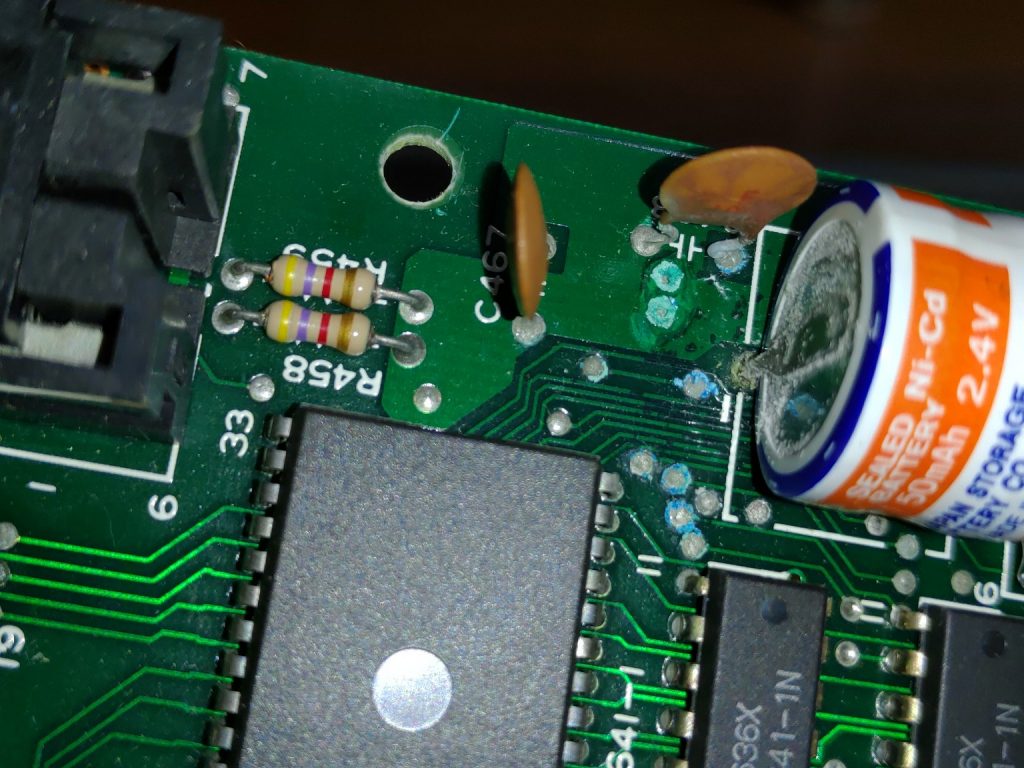
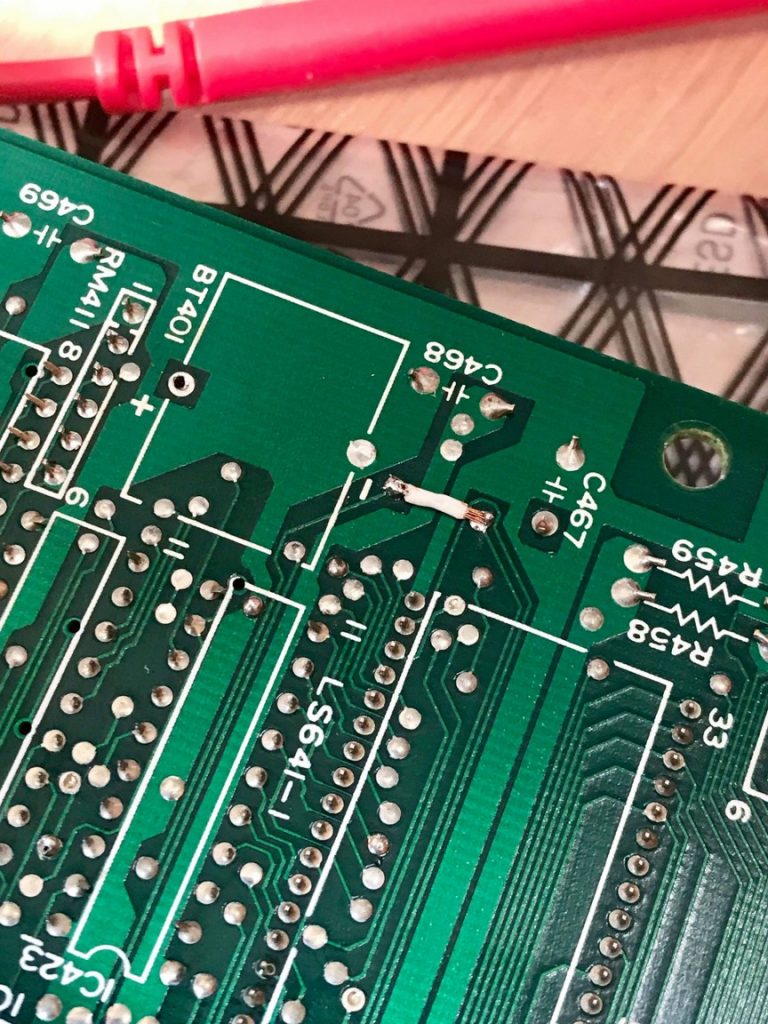
Fortunately, I have a friend here in Tokyo that is also into vintage computers and is far more skilled in that kind of thing than I am. I explained my situation and he came over and looked at it. He hemmed and hawed, nothing jumped out at him at first, but eventually narrowed it down to a small section that had some corrosion near the battery. He snipped about a half a centimeter of jumper wire and restored the connection on the underside of the PCB (the white strip near the center of the image).
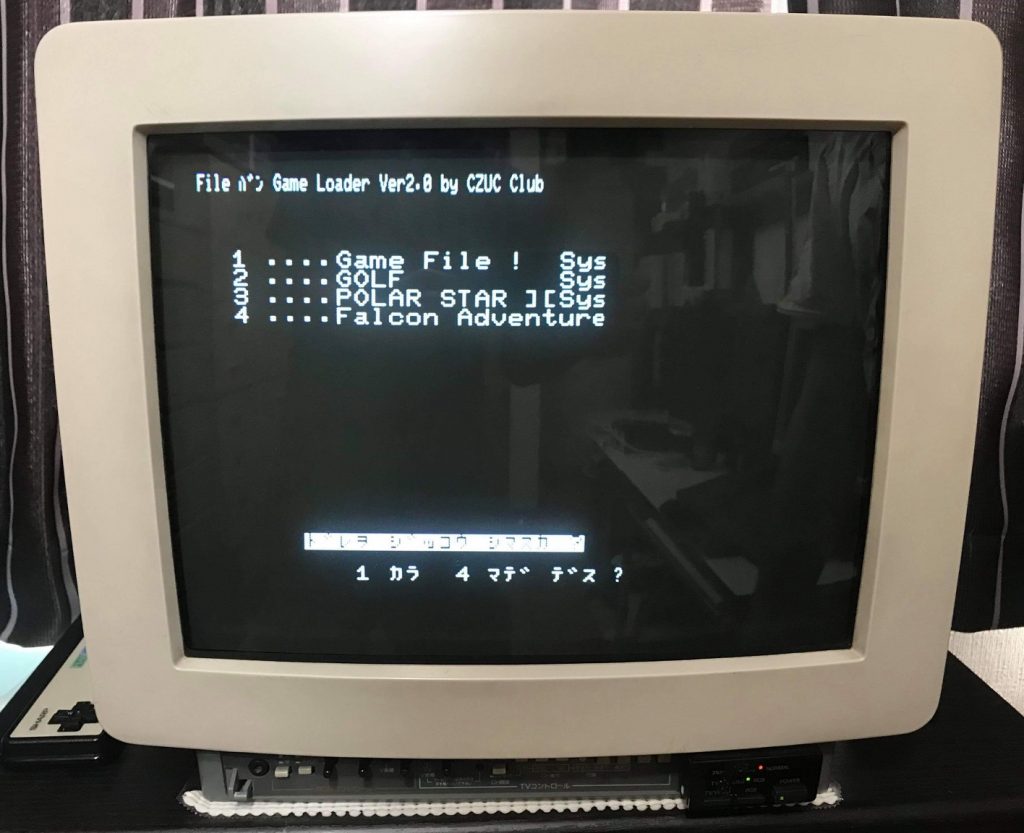
And then it worked! The idea is simple enough but finding the problem, on a system he’d never even seen before, and fixing it so eloquently… that’s straight up magic as far as I’m concerned!

Glad I could be of help. And yeah, it’s kind of magical such a simple fix did the trick and that not more traces got corroded.
I understood what needed to be done, but a) I thought it would need to be done on every trace in that area, which would have been crazy for me, and b) I’m not sure why, but I thought point-to-point soldering was done vertically, so even if I could deal with the minute detail of the work, I would have ended up with some big loopy thing. Which also would work, but that little bridge you came up with was so slick!
That was genius ! I’m not expert on Japanese computers but Amiga 2000s tend to have similar problems but usually a clean up with Isopropyl alcohol fixes it as the area around the battery is quite large. Unfortunately, here it looks much much smaller.
Next time never just turn on anything especially c64s as the power brick can (as you probably know) completely damage the system. If you watch Jan beta on youtube, you’ll learn what to do AND what not to do (I like him because he makes mistakes like me but is a good repairman).
Any C64 that comes through my hands gets treated right. I have a power saver to test the PSU for safety, and I have an after-market PSU that supports all of my Commodore 8-bit computers (VIC-20, MAX Machine, C128, Japanese C64, and Plus/4 [now that I think about it, it doesn’t support my C16 or C116, because those are completely different]). Both are made by Ray Carlsen.